Kitchen Coffee Station
Introduction
The coffee station in my kitchen evolved over time. It was not a thing that I set out to do, at first. But as I saw how well it worked, I began to purposefully turn it into a specific place to make hot tea, hot chocolate, or coffee. It does help to have everything that you need all in one place, just like having all of your baking ingredients nearby helps when you are baking. I drink more hot tea than I do coffee- half due to the caffeine factor, and half due to my growing belief that herbal tea with honey is good for a body. So this post could just as well be a Tea Station post! (or a Hot Chocolate Station post!)
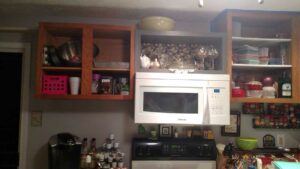
We have transformed our kitchen from what it looked like when we first moved in four and a half years ago. This is what it looked like when we moved in.
Kitchen Before
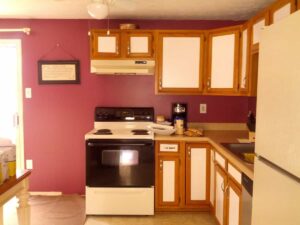
(*This post may contain affiliate links. By purchasing anything from these links, I may receive a small commission at no cost to you. More information is available on my Disclosure page.)
As time progressed, we moved the cabinets to ceiling, and moved the fridge to the left of the stove (among many other things).

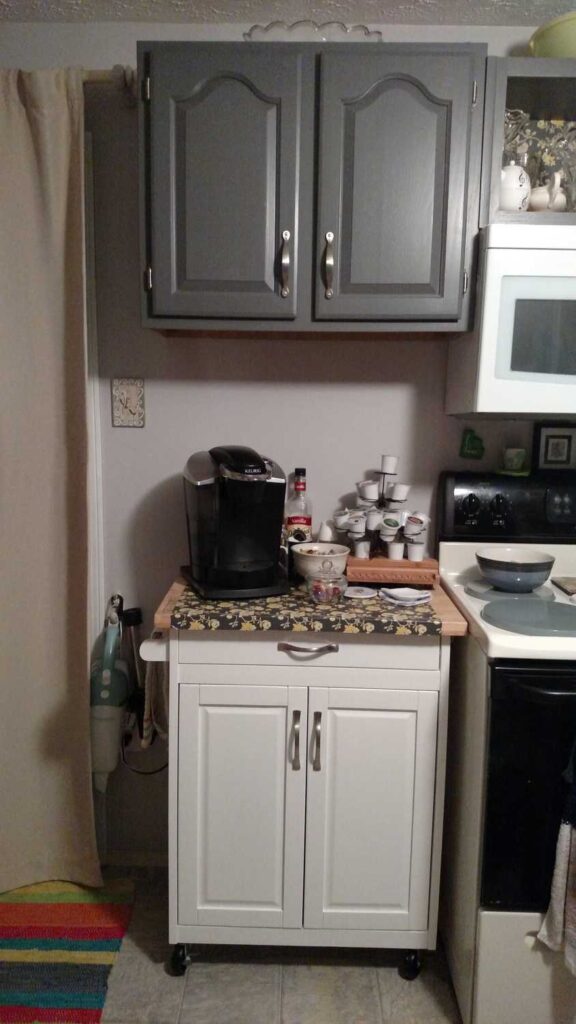
But then, I moved the fridge a second time to its third and final home. I moved my baking cabinet to the left of the stove. The top of the baking cabinet had already started becoming part of the coffee station. My kitchen is blessed with a ton of outlets, so I just moved the coffee maker along with the baking station when I moved it.
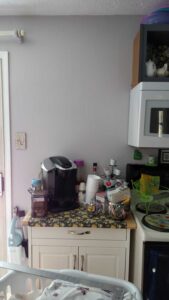
Then I installed an extra free cabinet over the baking cabinet, all by myself. How? you might wonder. I wondered that, too!
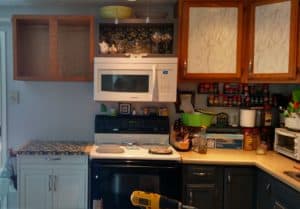
That is, I wondered that until I figured out that I could just prop the cabinet up with another cabinet, and shim it to the proper height! I had already searched the wall for studs, and had the screws in the cabinet at the proper places, all ready to install.
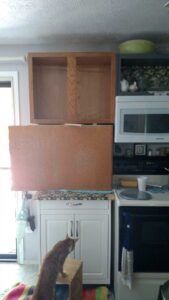
I painted this cabinet when I painted the rest of the upper cabinets.
 The scariest part was drilling the holes to install the cabinet hardware, something that I had never done before this! If I did it crookedly, it would be no fun to try to fix it! But they say there is a first time for everything, so I did it.
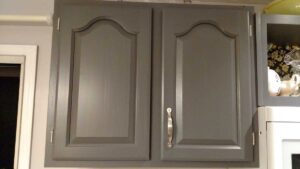
I was soooo relieved that the handles were both straight and even. My coffee station was now complete, except for one thing. There was not a place for the mugs, the coffee cups– to be easily accessible. As I looked at my coffee area, I thought there would be space on the wall for a mug rack of some sort. I searched the stores, and found nothing that I liked. Most of what I found was free standing, not for the wall.
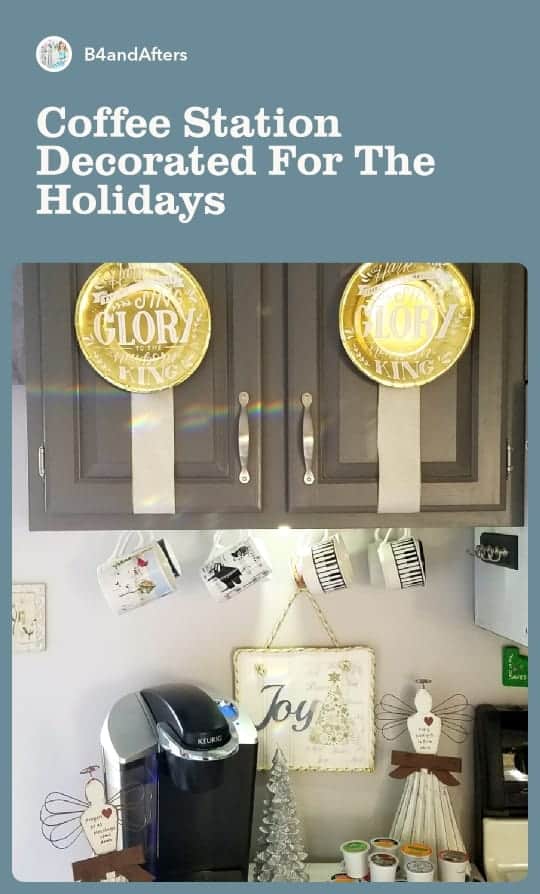
That was when I decided to use plastic coated hooks that I already owned, to screw into the cabinet from underneath! I love how it turned out! I spaced them so that I could fit larger mugs and smaller cups as well.
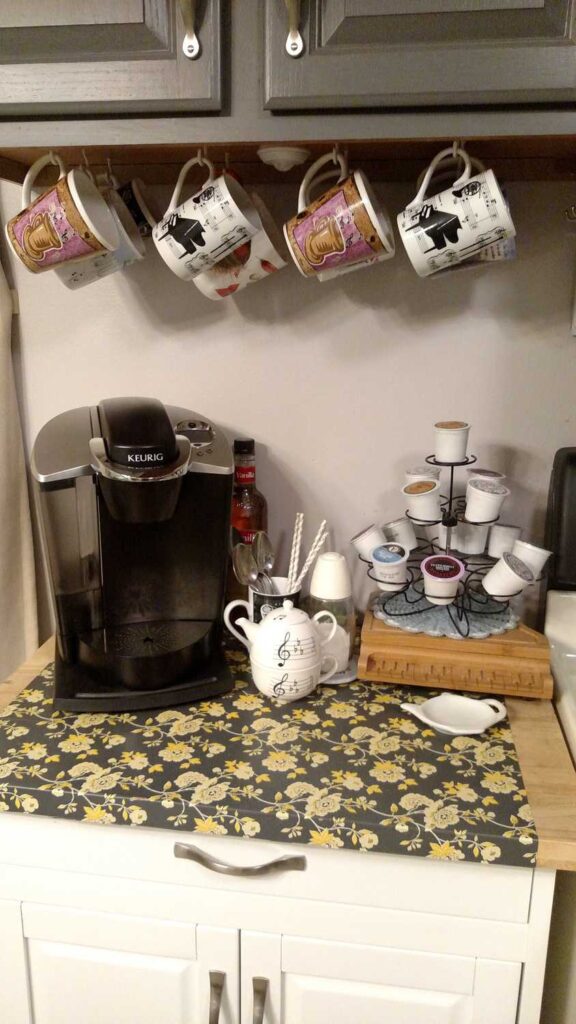
I put the contact paper that coordinates with the rest of my kitchen on the baking station when I first assembled it. In the gray cabinet are supplies for making hot chocolate/ hot cocoa, an assortment of tea, honey, and more k-cups among other things. I repurposed a cupcake holder to hold the k-cups on top of my wooden piano shaped cheese board.
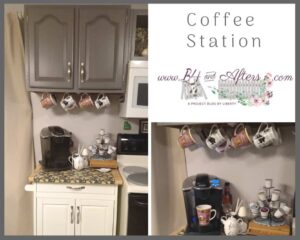
Coffee Station AFTER!!
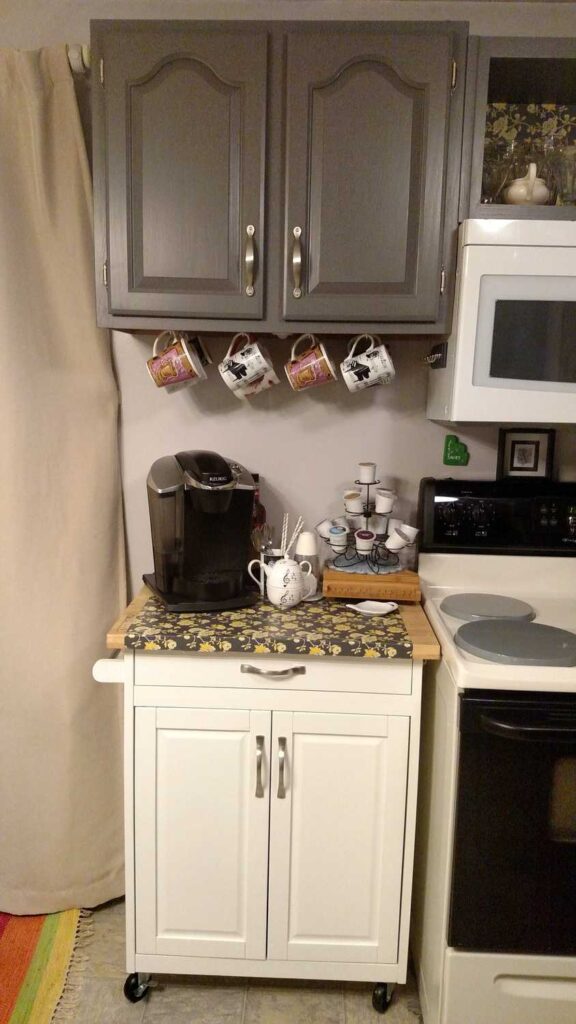
This is my favorite spot in the kitchen. I love how it turned out.
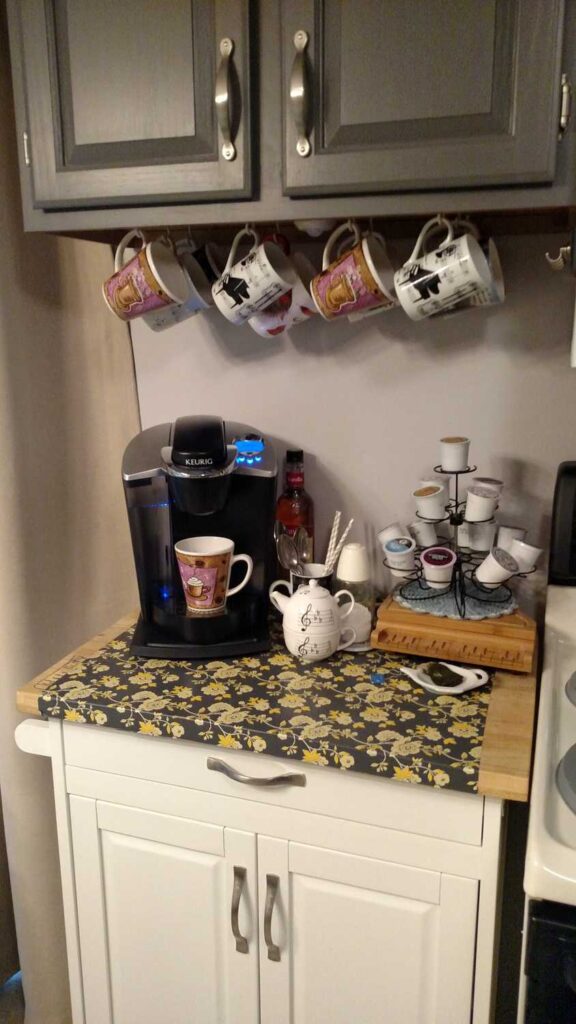
I also love to serve hot tea, hot cocoa, or coffee to my guests. If I forget to offer you some when you visit– please remind me!
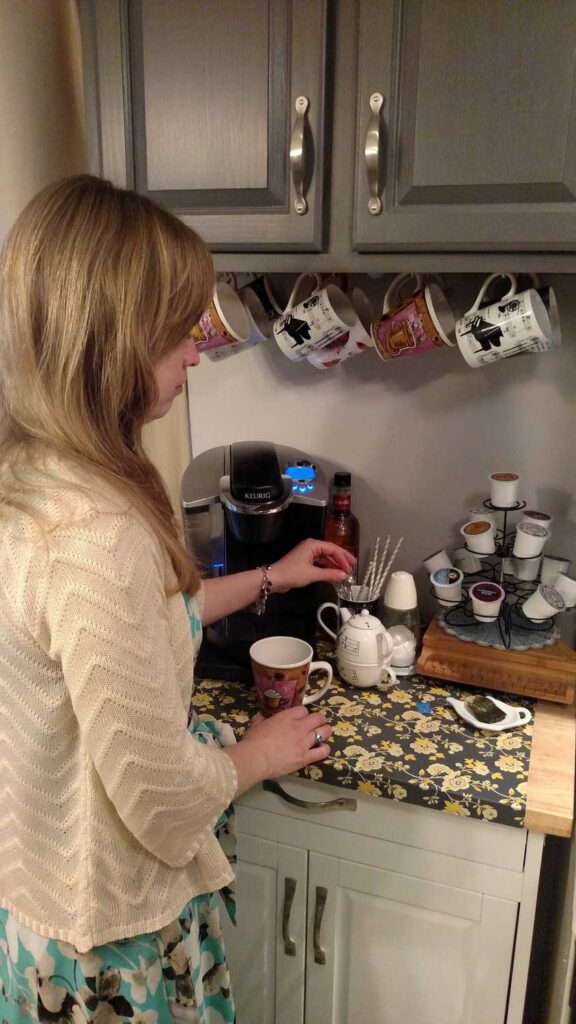
In the midst of all my projects, I like taking time for friends or family. This coffee station helps me to do that in a very easy and efficient way.
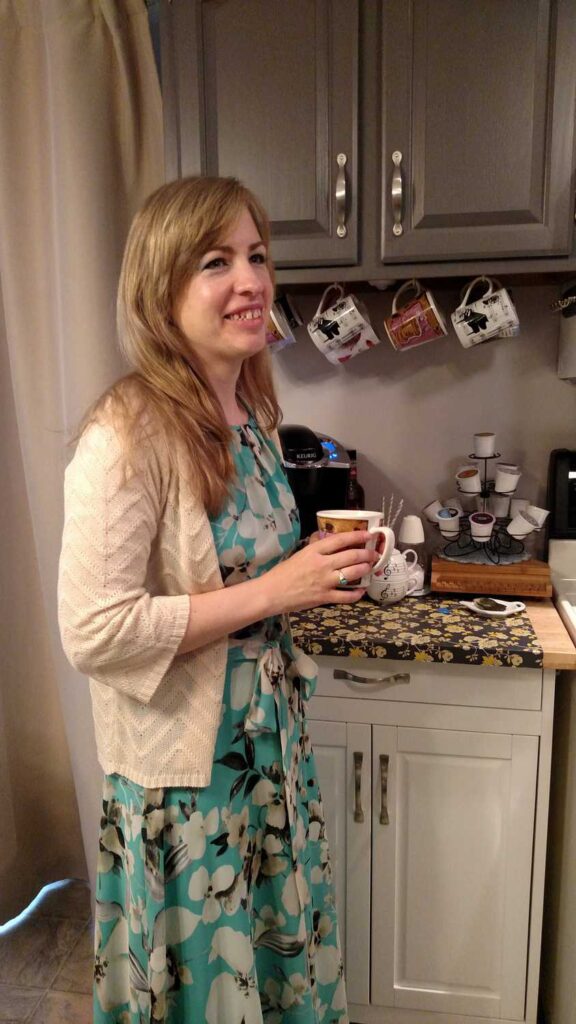
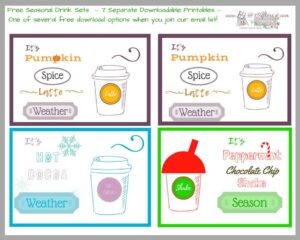
Speaking of coffee, here are some free seasonal coffee printables that I created for you!
*Linking up at Made By You Monday
*This post was featured at An Artful Mom’s Thursday Favorite Things link party!


I love your coffee station! Awesome on hanging the cabinet and putting on the hardware by yourself. It all looks great!
Thank you, Michelle! I’m glad you like it!
I love the hanging coffee mugs right by the coffee maker! I need to see if I can do that. My coffee cups are on the opposite side of the kitchen from the coffee pot!
Shelbee
http://www.shelbeeontheedge.com
The ends of my hooks do poke through to the cabinet shelf inside, just a bit. Not enough to bother me…. Yes, I love having them right there– it made more room in my other cupboards, too!
I love the coffee station! I am featuring it on Thursday Favorite Things tomorrow. Thanks for sharing!
How Exciting! Thank you so much! I’m looking forward to getting to know your blog more… I have a new Canon t6i (my first DSLR) and I need to learn how to use it. Your photos are beautiful.
The grey looks so great on those cabinets. Your coffee station looks wonderful! Thank you for sharing on Merry Monday! Hope to see ya next week!
Kim
Thank you! You’re welcome, and I hope so, too.
I love the refrigerator surround post you did. Awesome work. Keep up the good before and afters!! Linda @Crafts a la mode
I’m glad that you liked it!! Thank you!
Hi Liberty, I saw a post that you were looking to post a comment on my blog but you couldn’t find a place to comment. OMG. So glad you did that because when I went to look on my blog, there were no places to comment. I normally have been using Disquus but I just canceled them and now am using Google commenting. So IF you’d like to stop by I believe it’s working. I hope so!! Thanks so much for alerting me to that problem. And thanks so much for stopping by!! Your friend, Linda @Crafts a la mode https://www.craftsalamode.com
As a side note. I notice that your site is registered as not secure.
You’re very welcome! I hope that somebody would let me know if something wasn’t right with my site, so….
As for my site– were you using https? or just http? How did you notice that it is not secure? I think I have it set up so that somebody can use the site whether they put the s or not…