Painting a Little Desk
Introduction
Our house does not have an extra room for an office. I had been using a smaller, but tall dresser as a nightstand. Then I put that piece in my closet, and didn’t have anything for a nightstand. So I went on the hunt for something that would fit in a nightstand sized space (and not cover the heater vent in the floor). I was thrilled to find this small roll top desk at a second hand store for a very reasonable price. I don’t remember exactly how much it was– I found a child’s table and chairs at the same time. This little desk would double as a nightstand, and as a place for me to write real, old-fashioned letters if I used my bed for the chair.
Before
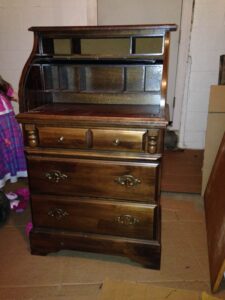
(*This post may contain affiliate links. By purchasing anything from these links, I may receive a small commission at no cost to you. More information is available on my Disclosure page.)
Plan
The roll top part was long gone, but that was fine with me. Part of the desk was laminate, and part of it was real wood. I was not really a fan of partially painted furniture– until I realized that that was the way to make this piece look fantastic! I could paint the wood and laminate that was in poor condition, and keep the nice looking wood bare!
Process
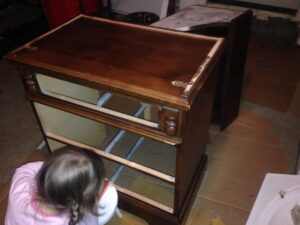
I took the desk apart to work on it. I pulled off the veneer trim that was in bad condition on the curvy sides. The veneer on the sides of the top only came partially off. Instead of trying to get the rest off, I decided to just fill it in with spackle for an even surface. Warning! -this is not a professional job here– just me making do.
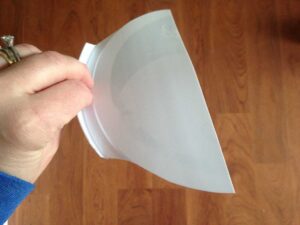
I cut a homemade spackling spatula out of an ice cream bucket lid.

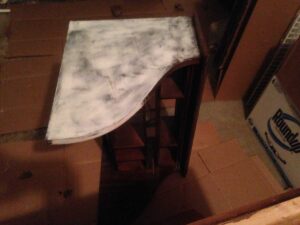
I smoothed the sides that best that I could.
I took the L brackets and drawer pulls off. I put silver spray paint on all but the two small round knobs– those I decided to replace with some larger ones that I had already. I had saved them after using them on closet doors at our previous condo.
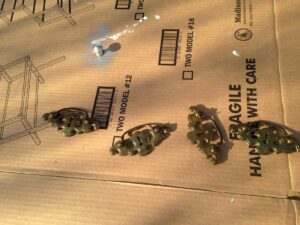
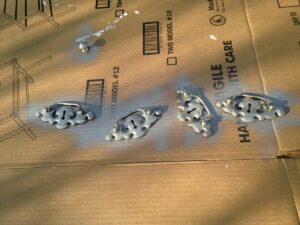
For this project, my research said that an oil based paint would work best. I was surprised how smoothly the oil based paint went on. It did not leave brush marks. I think this may be the only project that I have used an oil based paint on; I really do not care for oil based paint. It did leave a durable finish, though– I have not had to repaint or touch up anything. Since I didn’t need to paint the nice looking wood– it was a fast project.
AFTER!!
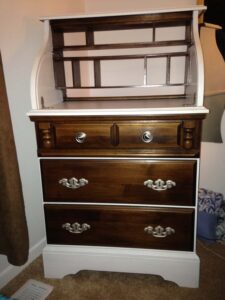
Imagine my delight to realize that this little desk had a pull out place to write on!! It is well hidden in the trim–and perhaps the previous owners didn’t know about it because it was in excellent condition.
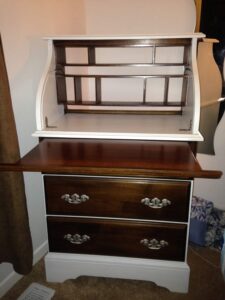
The fancy L bracket helps to hold the top on to the desk.
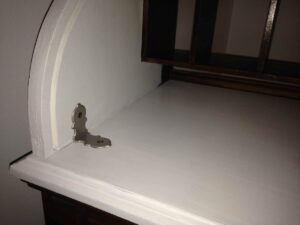
Here are some more closeups for you:
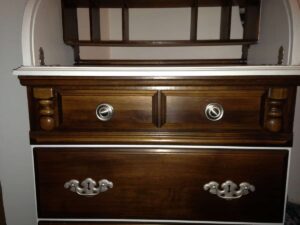
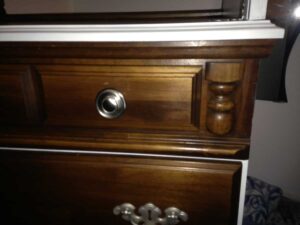





Excellent ideas. Best painting. Did not know L brackets could be so pretty! Thanks..
I’m so glad you like my little desk, Carolyn!
I love how this desk turned out. The two tone look is so pretty.
Happy weekend,
Kippi
Thank you so much, Kippi!