
The Best Cookie Cutter Cookies
I hope you’re not tired of cookies since Christmas was just a couple of weeks ago. If you make these cookies for your Valentine, they will love you forever!!

And yes, I do make these cookies for Christmas, too, as you can tell by the photos below.
**To see details on all of the different Valentine cookies, including a video, Go Here.


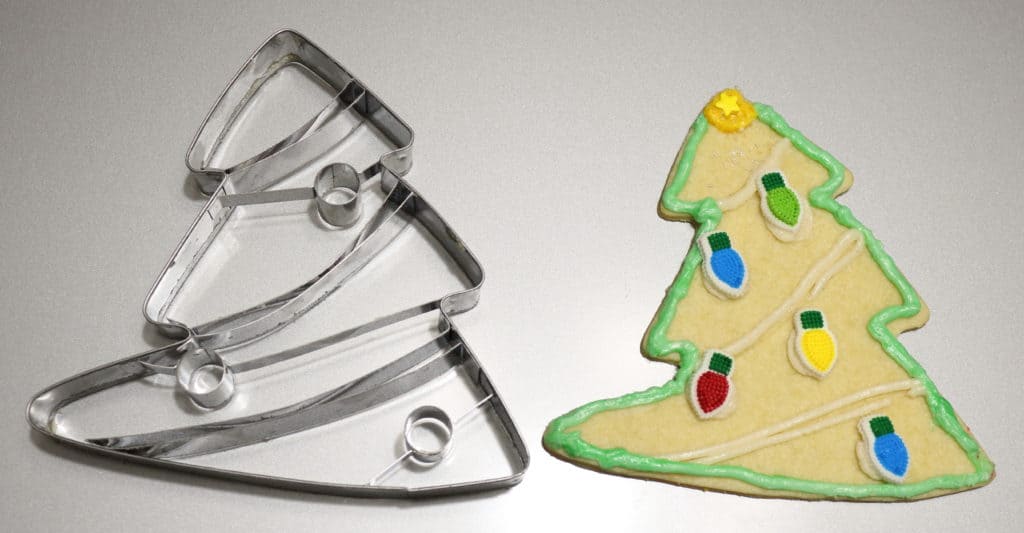
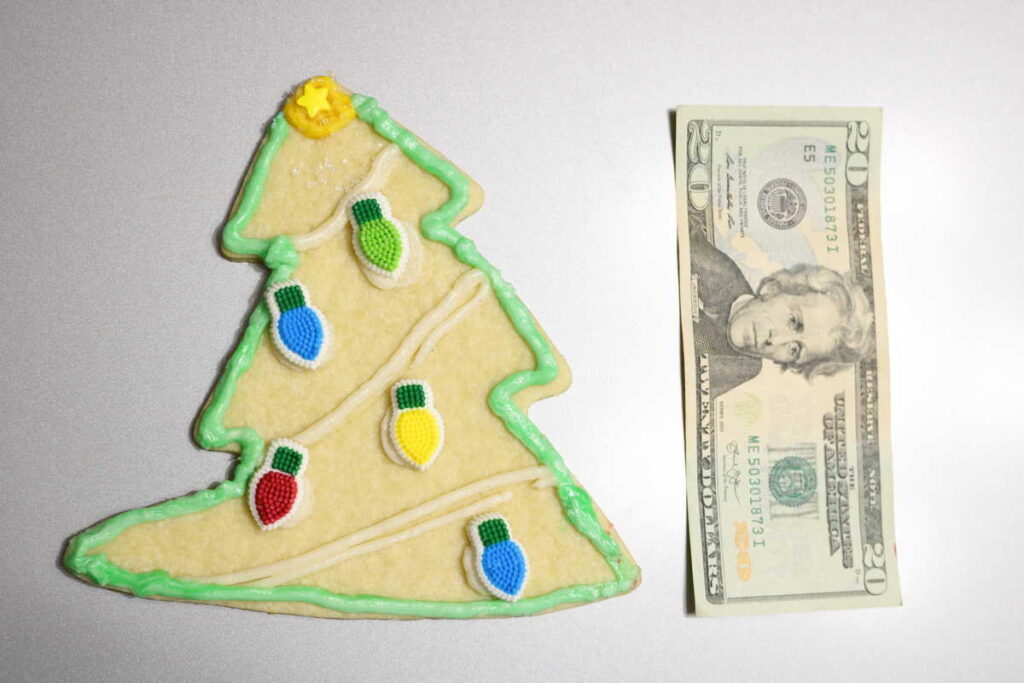
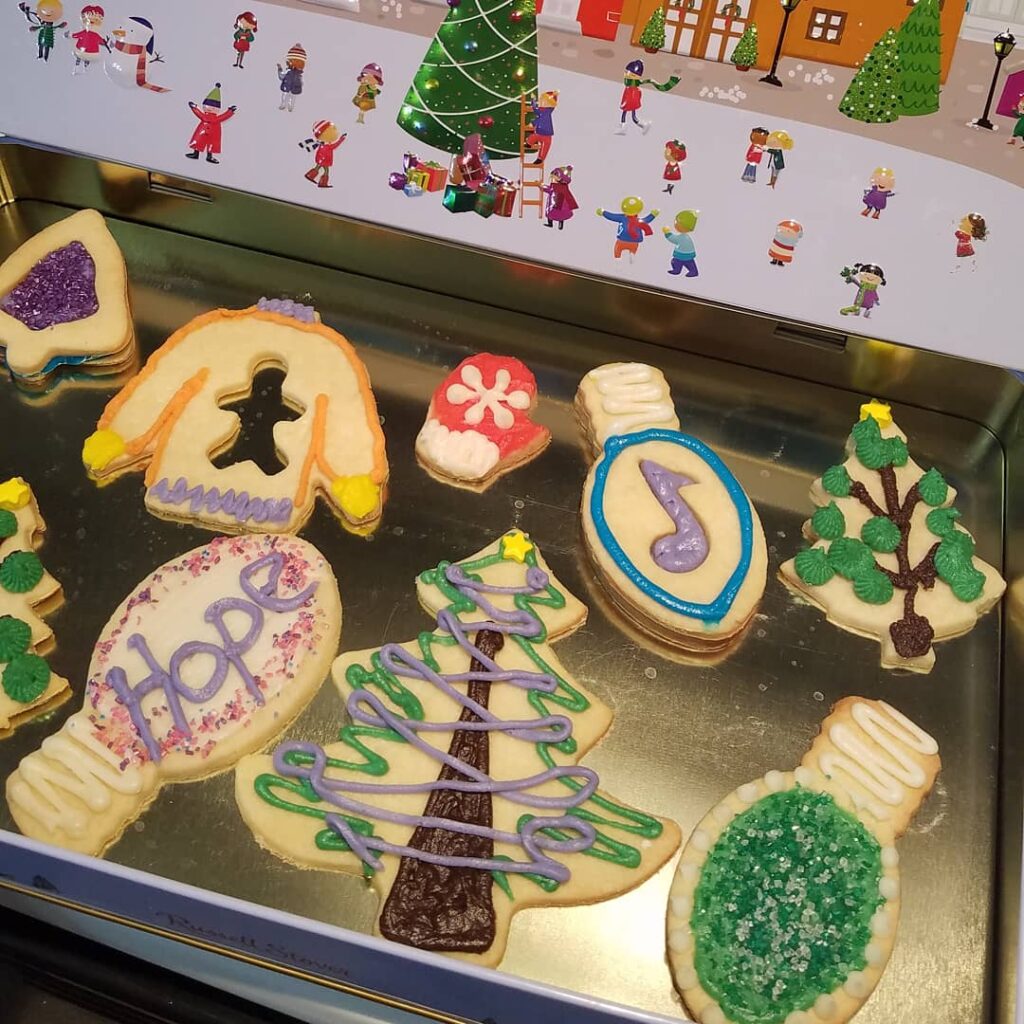
Update: We made SIX batches of these this year! My children and I love decorating them and giving them away! I also had some new cookie cutters to use. This Christmas tree is HUGE!
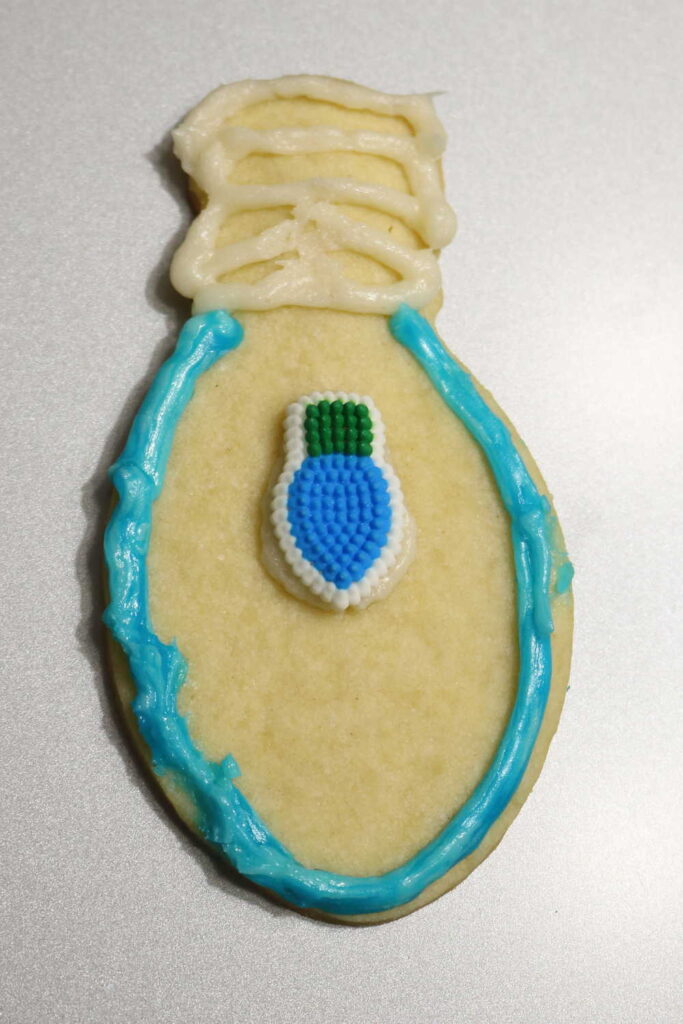

light bulb 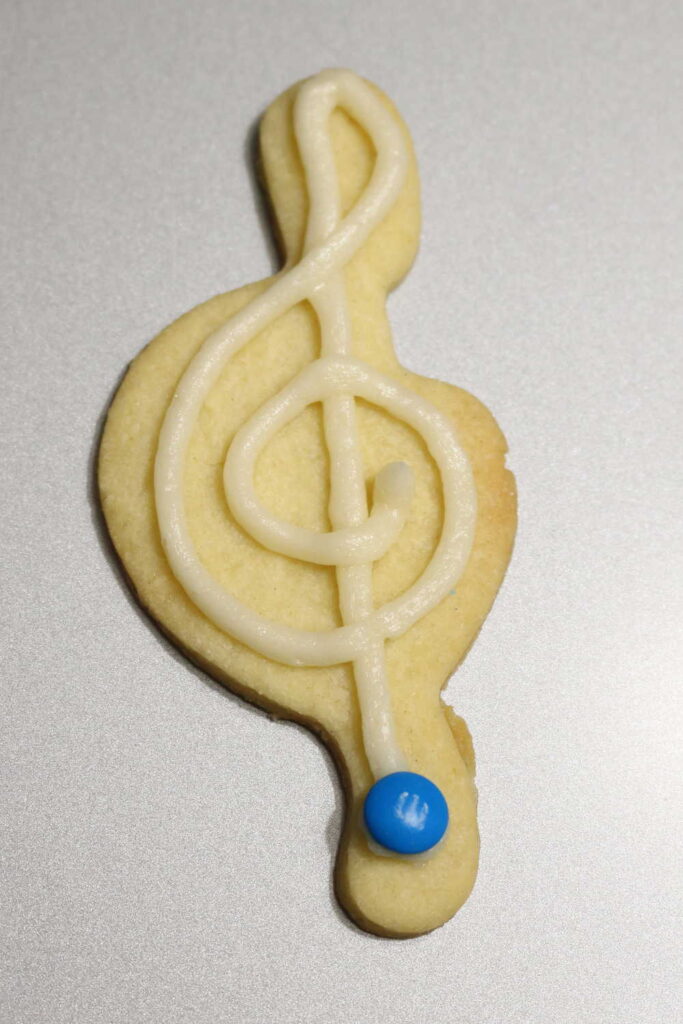
treble clef 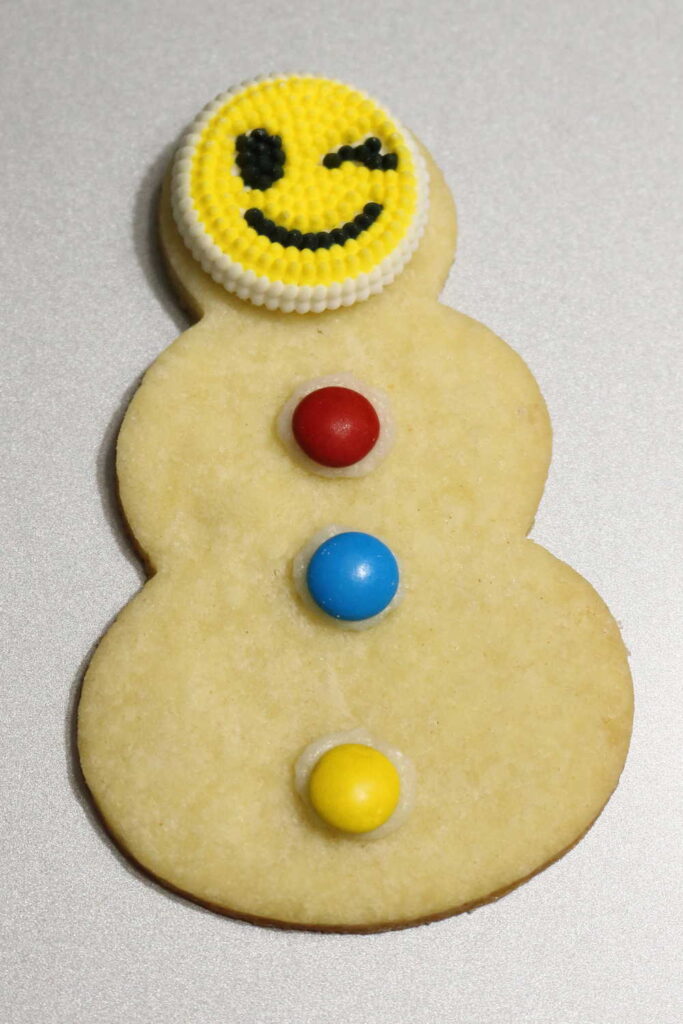
emoji snowman 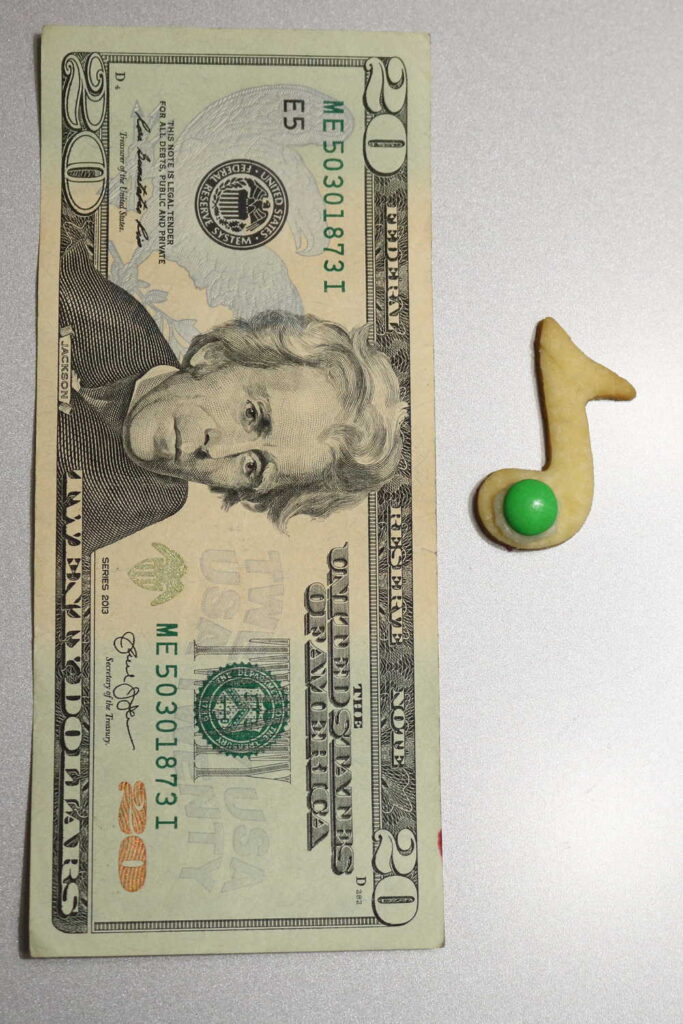
mini music note 


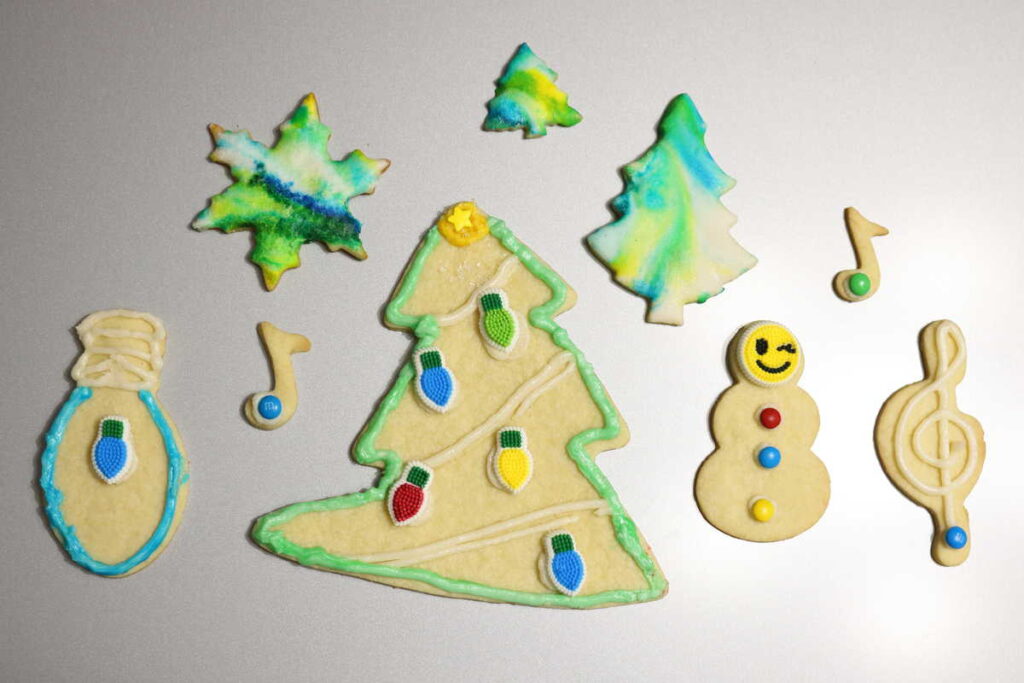
I also tried a new marble coloring technique for the frosting that was so fun!
Watch this video that I made for tips on how to get the cookies off the baking sheet without breaking them:
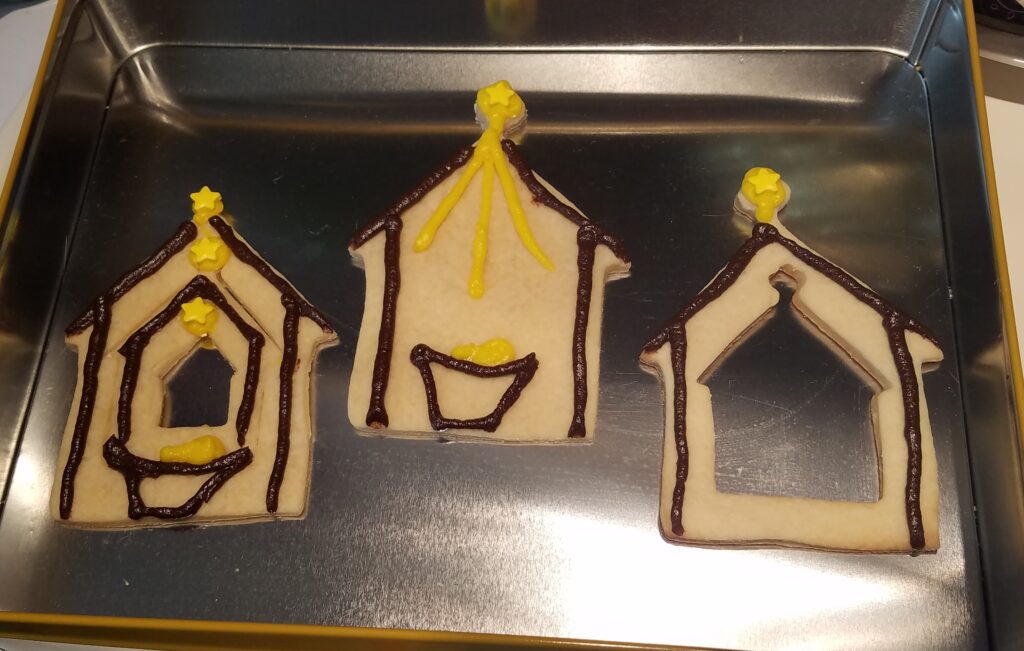
I have been making these Cookie Cutter Cookies for nearly twenty years. I make them every year at Christmas for my students and their piano recital. This past year I made 4 batches. (I will share pictures from other years also in this post.) Some years I color the dough, some years I color the frosting. Always I make musical and Christmas shapes : ). Let me know if you try these!

(*This post may contain affiliate links. By purchasing anything from these links, I may receive a small commission at no cost to you. More information is available on my Disclosure page.)
Since I first started making these cookies, complements abound. These are not sugar cookies. I’ve never tasted any cookies like these bought from a store. This year, my children gobbled up many of them before I could even get the frosting on. These cookies don’t need frosting if you don’t want to put any on. They are delicious alone. Ask my kids!
There only six ingredients. One of them is the “secret” ingredient that makes these cookies soooo delicious!
BEFORE

After making the dough according to the recipe below, cover the dough with plastic wrap to put it in the fridge. I pat the plastic wrap down right on the dough, so that no air can dry the dough out while it is in the fridge. You need to plan ahead for time for the dough to be in the fridge. Trust me– if I could take a shortcut on this part, I would.

This year I put the dough in logs and rolled it in wax paper. It was easier than leaving it in the bowl, to break off chunks to roll out. The red dough is peppermint flavored! This is four batches, divided 3 ways.

After the dough has refrigerated, roll it rather thin for cookie cutters. You’ll need to experiment a little. Too thick, and the dough will spread a little. Too thin, and they will break coming off of the cookie sheet. Hopefully you will be able to tell by looking at the pictures. I like to lay wax paper on my table, and then use very little flour underneath and on top while rolling them out. Do not be generous with your flour for the rolling out part.

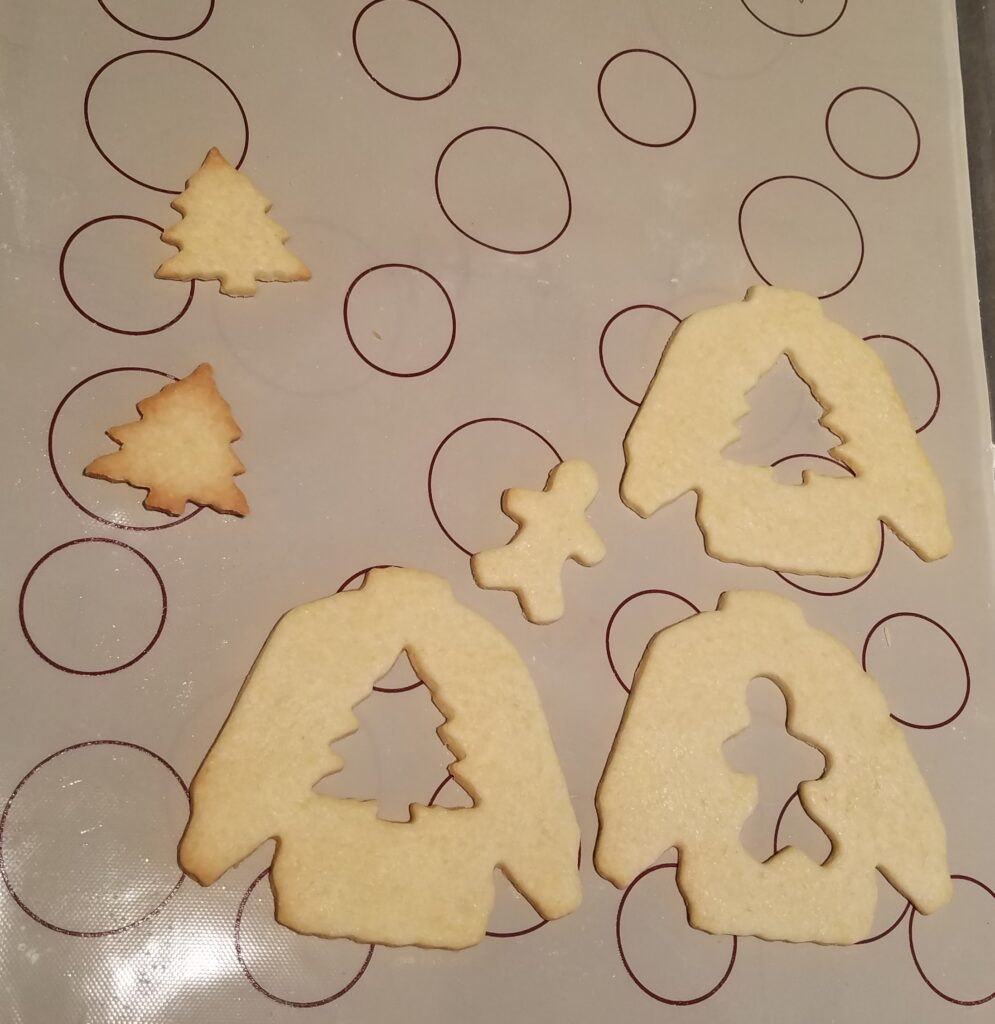
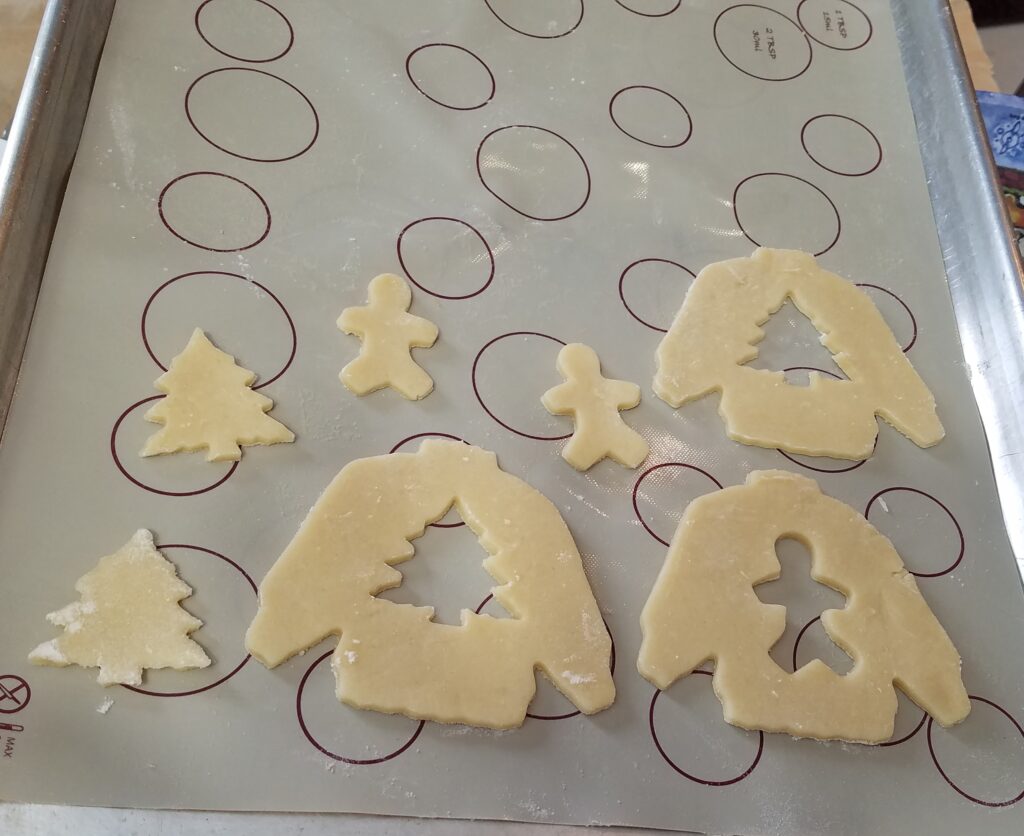
Ever since I got my Pampered Chef baking sheet liner*, I wish I had more than one! I don’t have to grease the cookie sheet, and I can lift the cookies right off by hand without even using a spatula/ turner! Here they are uncooked.
I like using wax paper to line my cookie sheets. But it needs to be lightly greased or these cookies will stick and break. Years ago I had some custom cookie cutters made. Can you tell what they are?

They are piano keys! I can make an entire piano keyboard using just the two shapes. This long keyboard is one of my favorites.

I used green dough for the black keys, and sprinkled them with green sugar before baking them. I glazed the white keys with a very thin glaze.


I like to use at least 3 cookie sheets. That way I can usually keep one sheet in the oven and one sheet cooking, while I am filling the third sheet.

Here are 4 cookies turned upside down so that you can see how done they are. Two snowmen are very lightly done, and the other is a little more brown. Both ways are fine.

Have you guessed the secret ingredient yet? It is cream cheese! These cookies smell amazing while they are cooking! In the picture below, you can see that I used a very thin glaze on some of the cookies.


I like to use computer keyboard boxes that I have saved for transporting the cookies. It also gives me more space for letting the frosting dry a bit before I stack the cookies. In the piano keyboard below I frosted all of the keys, and then sprinkled colored sugar to define the black keys.

As I mentioned, the red dough is peppermint flavored. I mixed some red dough with some white dough for a marble effect. It is nice to have some variety.

Before frosting:

With frosting and sprinkles:

In the green Christmas trees below, I baked them with green colored sugar sprinkled on before cooking. Then I added the frosting and sprinkles.
Count on two hours or more just for the rolling, cutting out, baking, and frosting. It took me a good 8 hours to make 4 batches. But it was worth every minute!
If you like, you can color the dough red and add peppermint flavoring. When I did this, it overpowered the butter/ cream cheese flavor, but it was a fun change. I suggest storing the peppermint flavor separate from the vanilla flavor.

AFTER!!

The BEST Cookie Cutter Cookies

Ingredients
- 2 sticks butter
- 4 oz. cream cheese
- 1 c. white sugar
- 1 egg YOLK
- 1 tsp. vanilla
- 2¼ c. flour
Instructions
- Cream butter and cream cheese at room temperature with mixer until blended.
- Add sugar, egg yolk, and vanilla.
- Beat until blended.
- Add flour a little at a time until blended. Dough will be thick and you may need to mix by hand instead of with a mixer.
- Refrigerate overnight.
- Roll thin, cut out with cookie cutters, and bake on a lightly greased cookie sheet for about 10 minutes at 350 degrees until just starting to brown.
- Let cool before removing from cookie sheet.
- Frost with frosting or glaze if desired.
Notes


Do you use self rising or all purpose flour?
All purpose flour!! Unbleached is what I prefer.
Oh my gosh the marbled effect is so pretty! The piano keys are adorable. I love that you used to make those for your students!
Oh these look delicious! Love all the different ways you decorated them 🙂
I’m giggling at the piano keys! So fun!
Wow, you’ve been busy. These all look fabulous.
I love that you used cream cheese! So yummy! And that leaning Christmas tree cookie is adorable!
They look so good! I love the cookie cutters! xoxo
Oh, how cute are these Christmas cookie cutters? I love all the ways you’ve used them especially the piano keys – very clever! Pinned this for later.
Thank you so much for pinning, Jayne!
These are adorable! great job Liberty! Fun cookie hop!
I wonder if that is why I can never get these type of cookies to work. I even tried the dough you buy…. But I have not refrigerated…. I might have to try it your way…esp since mine does not work ha
What a wonderful tradition! Not to mention delicious! Love that piano. I will try this recipe!
These sound amazing. I’ve never been able to make a good cookie cutter cookie that doesn’t taste like flour. I wonder if it’s my rolling technique like you described. I’d like to make Christmas cookies with my granddaughter this year. I’ll try this recipe pinned!
Thanks for pinning, Amy! Let me know if you try these cookies!
I’m so far behind, but I wanted to make sure I stopped by and thanked you for sharing at the What’s for Dinner party. Hope to see you again this week!
These look absolutely wonderful! I’m saving to make these next year with my grandkids. Thanks so much for sharing!
You’re welcome!
I may have to try for Valentines day……need a good sugar cookie roll out recipe and this JUST may be the one!!!