Above Microwave Cabinet
This post is the fourth in my Kitchen Cabinet series. (I hope that you like post series; I know that I do!) You can find the other posts here, here, and here.
BEFORE
(*This post may contain affiliate links. By purchasing anything from these links, I may receive a small commission at no cost to you. More information is available on my Disclosure page.)
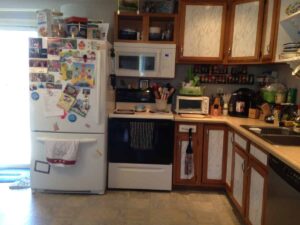
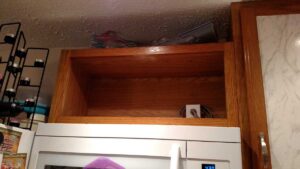
We now turn our attention to the cabinet above the microwave. This cabinet will be a very important experiment and will turn out to be a pivotal point in the transformation of my kitchen cabinets. Let me remind you how this wall looked previously:
Before BEFORE, above
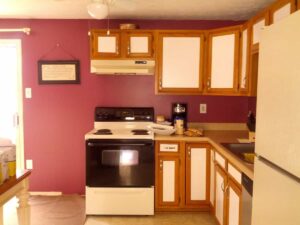
Now before you think that I have my pictures switched : ), let me remind you that a family of four lives here. No one was living in the house when the fuchsia pink wall pictures were taken. And the convenience of having my spice racks on the wall means that I have clutter that is very difficult to hide. Not to mention that I have almost zero counter space. Don’t worry— it gets better!
The cabinet above the microwave is going to be an experiment before I tackle the rest of the cabinets. In fact, it stays in its finished state for several months before the rest of the cabinets get their makeover.
I had seen an idea on Pinterest for a cabinet with the doors removed. The middle piece of wood was removed, and it was used as a display cabinet. So I took off my doors and left it that way for awhile to see how I liked it (that’s what you saw above, in the before picture).
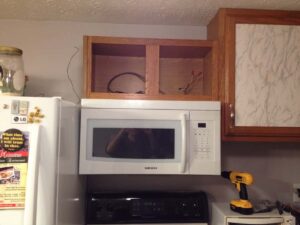
Then one day I got brave and, using a hand saw, took out the middle piece of wood. I was committing myself to another open shelf.
I saw a post on painting kitchen cabinets without sanding them. So I followed the directions for my over-the-microwave cabinet. But first, I found a store within driving distance that carried General Finishes paint. I looked at their sample colors and chose Driftwood Gray. I recommend driving to an actual store if you can. Colors look different in person than they do in photos (the gray I chose looks brown in the website that I reference above). But once you know which color you want– did you know that paint can be mailed?? I didn’t know before this. Yes, you can buy paint on Amazon and it will be shipped to you!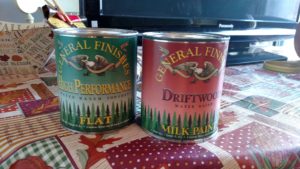
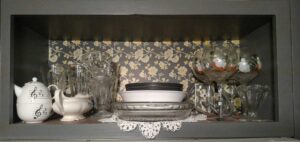
Here is my cabinet while it is being painted gray! The difference in color that you see is the dry versus the wet. It dried rather quickly compared to some paints. Due to the nature of this milk paint, a clear topcoat needs to be applied. That is the other can you see above. I chose a flat finish. I think three coats are recommended.
I loved how the finish looked and felt. This paint (and the topcoat) is applied using a black foam craft brush– and it does not leave any brush marks. The finish felt silky smooth.
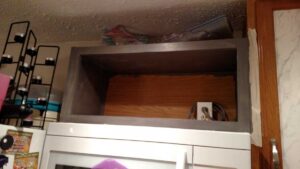
I left the back unpainted because I planned to add…..you guessed it…. contact paper!
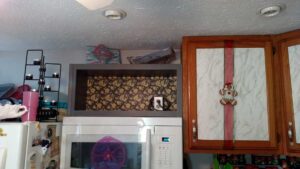
The white outlet for the microwave stuck out like a sore thumb, so later on I bought a clear cover and used the same contact paper to disguise it. I added clear dishes, and later on some white dishes, for display in my open cabinet. I love this gray and yellow contact paper by Laura Ashley. I wish I had an unending supply.
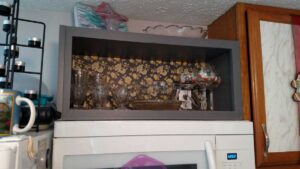
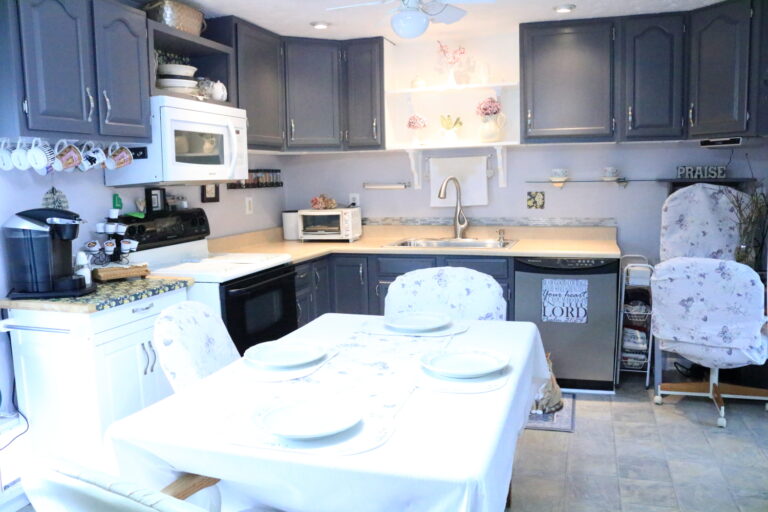
My above microwave cabinet turned out to be a lovely accent to my kitchen. In fact, it remained an accent cabinet for more than a year while I worked up the courage to paint the rest of my cabinets. So I would like to suggest to you that if you are thinking of making a change, like painting your cabinets– try a little bit somewhere and see if you like it. If you don’t like it– it is a small thing to fix. If you do like it, it can be a great accent to what you already have, even if you decide not to change your entire space.
AFTER!!
