Condo Gallery Kitchen Cabinets
Introduction
This post is going to be a flashback to our former condo gallery kitchen. My husband bought this condo before we were married. Then after we were married we lived there for four and a half years before buying our current house.
BEFORE

(*This post may contain affiliate links. By purchasing anything from these links, I may receive a small commission at no cost to you. More information is available on my Disclosure page.)
The Before picture is of the galley kitchen when the condo was purchased. It had blue painted beadboard above the sink to the left– you can see more of that in the picture below.
Copper Hardware
The kitchen cabinets were original to the condo, with their original copper hardware. If you look at the lower cabinets in the picture, you can see how grungy and dirty the hardware was. When I removed it to work on the cabinets, I scrubbed the hardware with Comet cleaner and a brush and they came clean in no time at all.
Cabinet Stain
I wish I had pictures of the process…. but I did this whole project without taking any “during” pictures.
Let me tell you about it…. somewhere I had heard of this wonderful product that would change the color of the cabinets and give it a nice finish in ONE step. It is a polyurethane and stain in ONE product. I used Minwax Polyshades in Bombay Mahogany– a reddish color. That product is sadly no longer available… You can find a similar product here. What do you think? Do you like the dark red mahogany color?
AFTER version 1

Cabinet Process
These cabinets were my first experience with the polyshades. I remember using steel wool to sand them down a little bit. I probably didn’t wipe on Paint Deglosser either. That is probably the reason that I had difficulties with the upper cabinet door to the left of the stove fan. See how it is darker than the others? After I had applied the polyshade, well, some of the steel wool shaving dust in the air or my brush got onto the door and it looked awful. I decided to wipe it off with a rag, and reapply it. Now, I know that I should have cleaned it better with something designed for the purpose, but at the time I didn’t have anything on hand. I was worried that it would dry permanently in a horrible DIY fail. So I just quickly reapplied the stain/polyurathane. That is why that door is darker than the others…. But even with that disaster, I still liked it better than the original cabinet color.
Wall Paint
Well, I didn’t care for the blue paint so I decided on this shade of mint green to go with the red stain. I liked it, but a few years later the shade of green that I liked would change.
AFTER version 2

I had done all of this work for my future husband-to-be. He was very kind to let me try out my ideas! And I think he liked it better than it was before I messed with it. But after all my work…… he decided that he would rather go back to living at home and rent out his condo. And then somebody painted all over my lovely green in order to rent it out…… They painted it a dull off white.
Contact Paper
So after we got married we lived in this condo with this kitchen for 4 and a half years. I got to enjoy the results of my former labors on the cabinets. But the walls that had been painted an off white color– had been painted with flat paint. Above the counter at my sink where the beadboard was, I wanted and needed something that would withstand water better. Enter my love for contact paper! I found some striped green contact paper that reminded me of bead board. Putting up the contact paper was easier than repainting the kitchen green again. I couldn’t bear to think of redoing all that work. (But later, I decided to paint the kitchen ceiling with the leftover green paint! When I find those pictures, I’ll add them! You can see a peek of it in the picture below if you look really closely.)
AFTER, Final

Just for Fun
You don’t think my kitchen looked like that while I was living there with two small children, do you? No way…. So just for fun, here was my kitchen in real life. : ) (Okay, well this whole blog is just for fun!)
Real Life

More Contact Paper
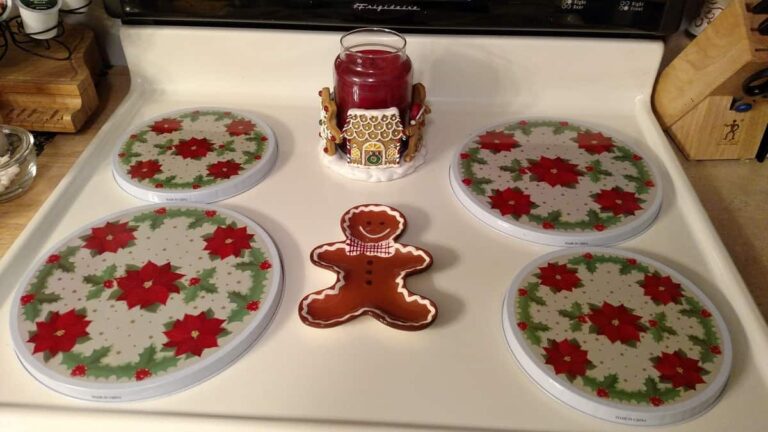
You can see more of my wonderful contact paper on the walls! And if you look to the right, you’ll see a lid to my trash can that I made out of cardboard and covered with the matching leftover contact paper. I covered the trash can with contact paper too. The lid and the trash can were soooo easy to wipe off! I still have it after 8 years, minus the lid…except that I use it for recycling now.
I hope you have enjoyed this flashback as much as I did!